Key takeaways
- Place niches out of the direct spray and away from exterior walls where possible.
- A 14.5-inch width fits between standard studs without extra framing.
- Plan the tile layout before framing the niche so edges land on full or even tiles.
- Waterproof the niche with the rest of the shower and slope its bottom toward the shower.
- Layout and grout color change the look as much as the tile itself.
A shower niche is one of the small details people notice first in a finished bathroom, and one of the easiest to get wrong. A niche set at the wrong height, cut into an exterior wall or finished with slivers of tile at the edges will bother you every morning. Built well, it replaces the plastic caddy and ties the whole tile design together.
We build a lot of tile showers, and niches are part of almost every one. This post covers practical niche decisions first, then tile layout ideas for walls and floors, with notes on what each choice means for installation and upkeep. It applies to any shower, whether you're in a Newark split-level, a Pike Creek colonial or somewhere else entirely.
Where to put a shower niche
The best location is usually on the wall opposite the showerhead or on a side wall out of the direct spray. A niche in the spray fills with water and keeps bottles wet. Place it where you can reach it without stepping out of the water or leaning around the glass.
Avoid exterior walls if you can. A niche cuts into the wall cavity where insulation would go, and in a Delaware winter that thin spot can get cold enough for condensation to form behind the tile. Interior walls, or a wall shared with a closet, are the better choice. Check for plumbing, vents and wiring in the wall before committing; a drain stack or a fan duct can make the ideal spot impossible.
Height
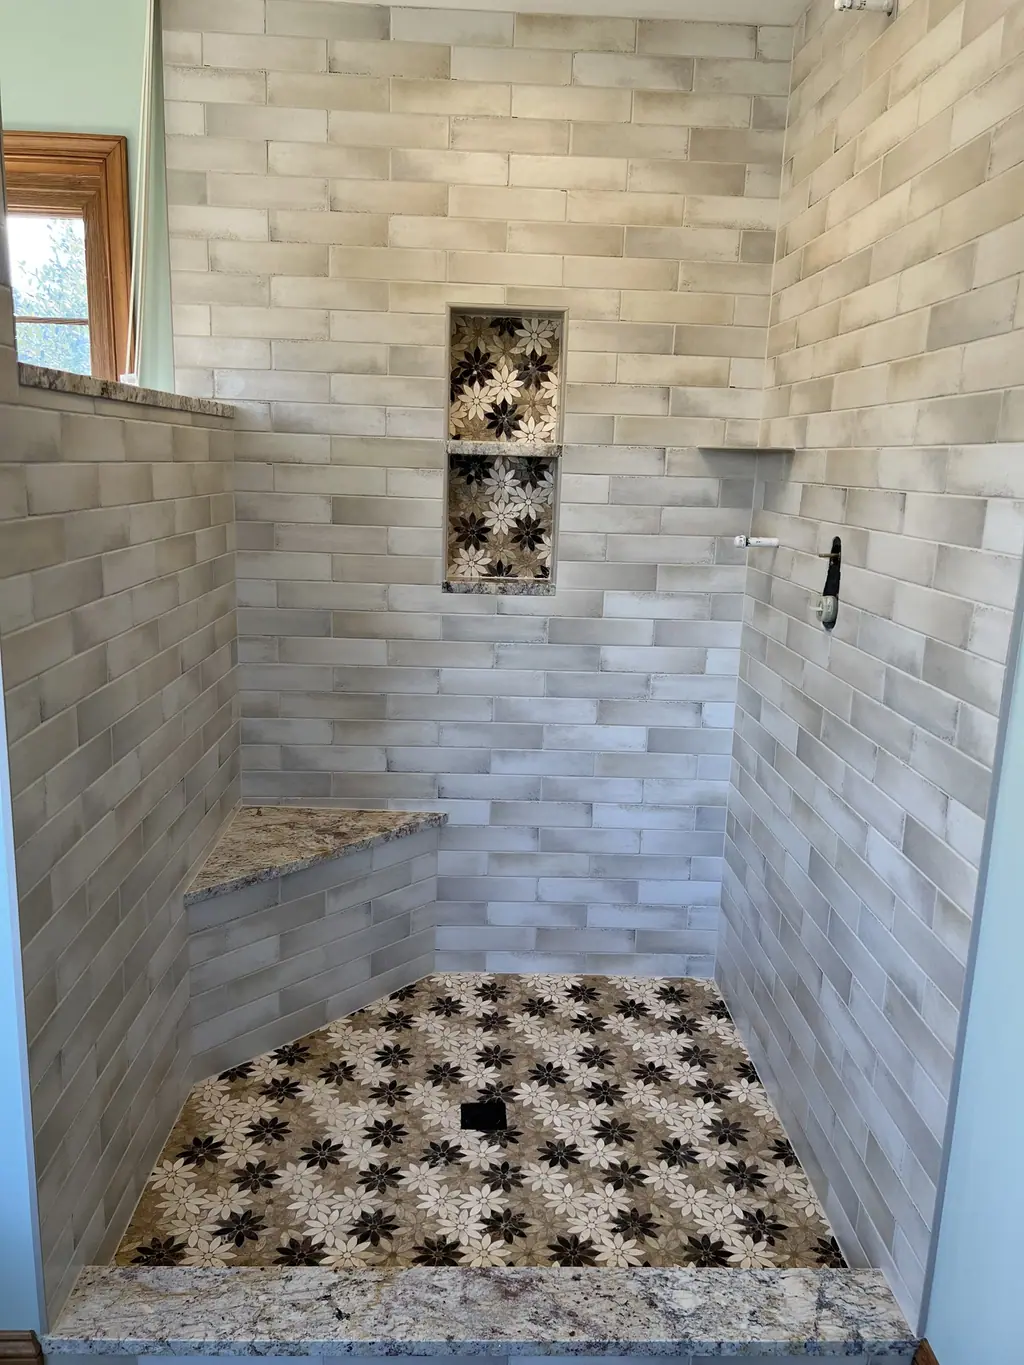
For a standing shower, the bottom of the niche is commonly set somewhere around chest height, but the right answer is the height the people using the shower can comfortably reach. If someone uses a shower seat, add a second, lower niche near the bench. In a shower with a bench, a niche above it at seated reach is especially useful.
How big to make it
In a standard wall framed with studs 16 inches on center, the space between two studs is about 14.5 inches wide. That's a natural niche width that doesn't require cutting a stud. Wider niches are possible, but the cut stud has to be supported with a header, which adds framing work and cost.
For height, a single niche of around 12 inches fits most shampoo bottles, while a taller niche with a shelf in the middle holds more. Two stacked niches, or one long horizontal niche that runs the width of the back wall, are popular in larger showers. Depth is limited by the wall cavity, which in a 2x4 wall is enough for standard bottles once the backer board and tile are accounted for.
Size the niche to the tile
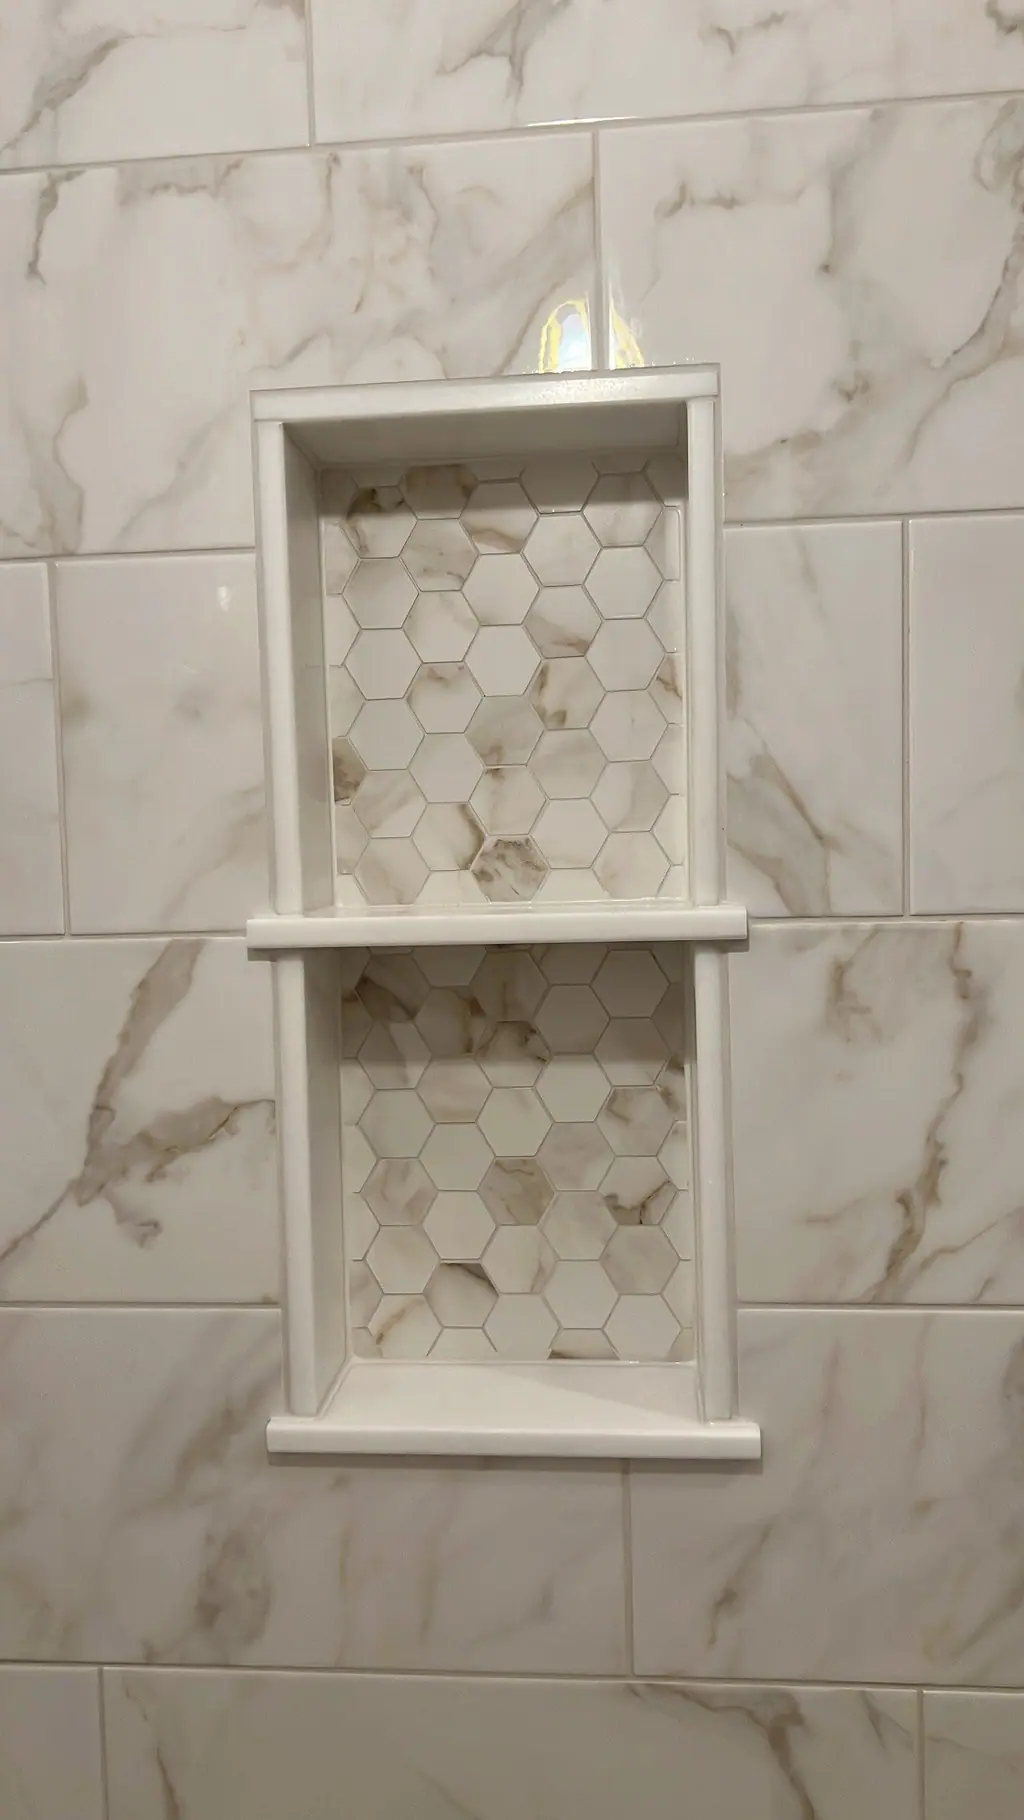
This is the detail that separates a good niche from an average one. The niche opening should be sized and positioned so the surrounding tile lines up with its edges, with full or evenly cut tiles around it. That means planning the tile layout before framing the niche, not after. With large-format wall tile, aligning the niche to a grout line keeps it from looking like it was cut in as an afterthought.
Keeping a niche watertight
Grout is not waterproof, and neither is most tile once you count the joints. The waterproofing happens behind the tile. In a membrane-waterproofed shower, the niche needs the same continuous protection as the rest of the wall, with inside and outside corners reinforced with preformed pieces or banding. A preformed foam niche insert simplifies this because it has fewer seams.
The bottom of the niche should slope slightly toward the shower so water drains out rather than pooling against the back wall. Standing water in a flat niche eventually finds a weak spot. Our post on shower waterproofing goes into membranes, pans and why grout can't be your waterproofing.
Finishing the niche edges
The edges of a niche are where the cut tile edges would show. There are a few clean ways to handle them:
- Metal edge profiles: thin aluminum or stainless trims in finishes like brushed nickel, matte black or brass. Clean and modern.
- Bullnose or pencil trim: tile pieces with a finished rounded edge, matching or contrasting with the field tile.
- Mitered corners: tile edges cut at 45 degrees and joined. It looks seamless but takes skill and suits porcelain with through-body color.
- Shelf material: a solid piece of quartz or stone for the niche bottom and shelves, which also makes a slight slope easier to form.
Tile layout ideas for shower walls and floors
Tile layout has as much impact as tile choice. The same tile can look plain or striking depending on how it's laid.
Herringbone
Rectangular tiles laid in a zigzag pattern. It works on a full shower wall, as an accent panel, or on the floor. It takes more cutting and time than a straight layout, so it costs more to install, but it gives a lot of movement to even a simple tile.
Mosaic accents in the niche
Lining the back of the niche with a mosaic, hexagon or patterned tile is an inexpensive way to add detail, since it uses very little material. Choose something that relates to the floor tile to tie the room together.
Large-format walls
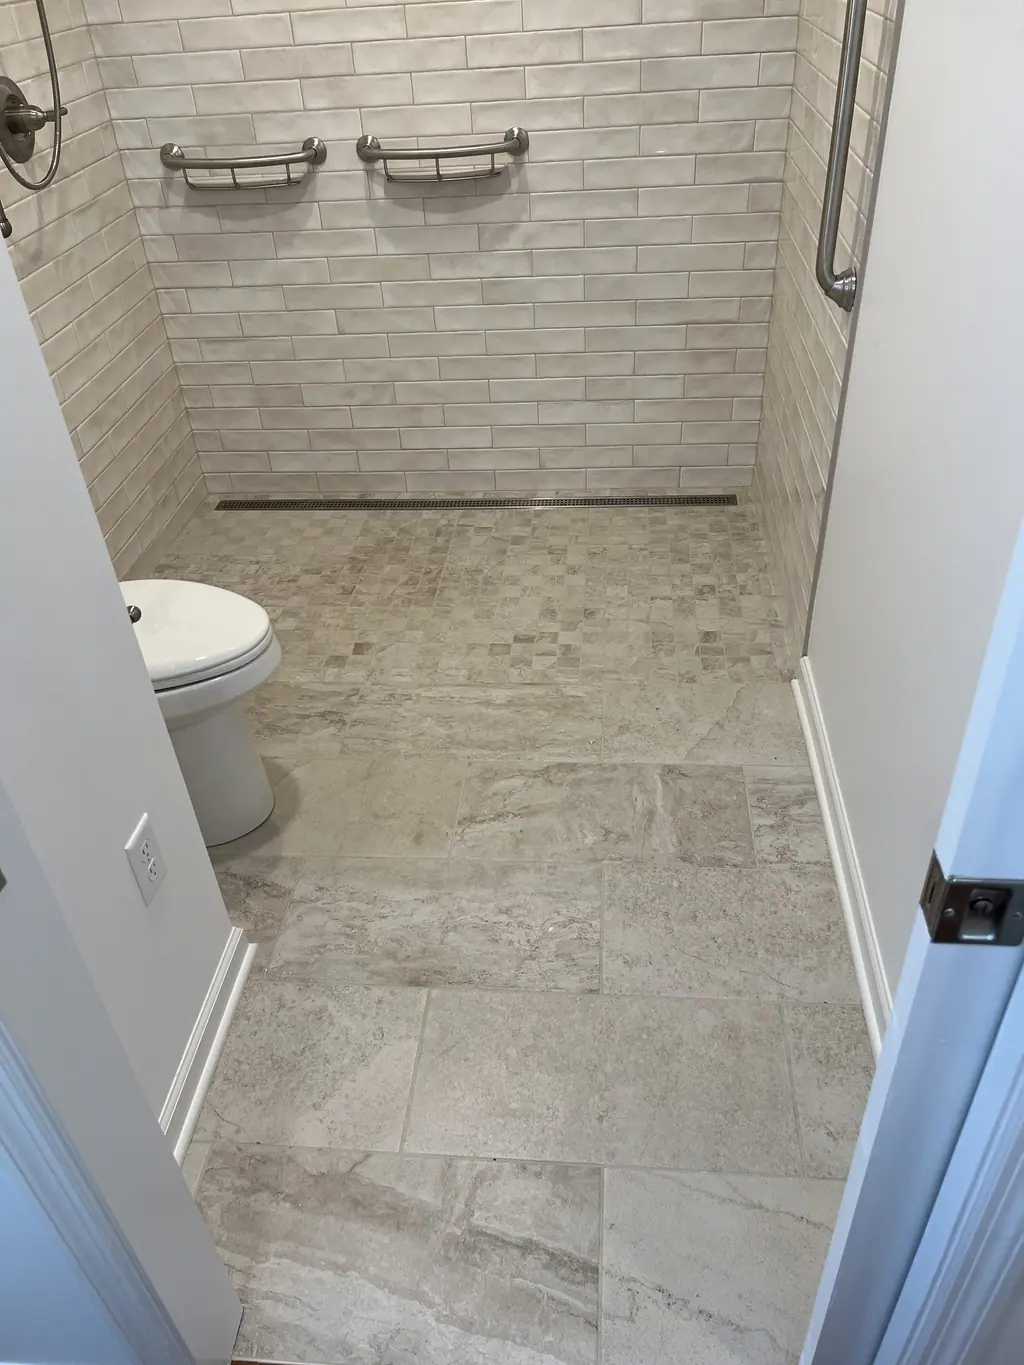
Large porcelain tiles on the walls mean fewer grout lines to clean. They need a very flat wall and careful installation to avoid lippage, where edges of adjacent tiles don't sit even. They pair well with a linear drain on the floor, which allows larger floor tiles too.
Vertical stack and subway
Subway tile in a classic offset pattern is timeless and forgiving. Stacked vertically, with tiles lined up in straight columns, it makes a low ceiling feel taller. Stacked layouts show any imperfection in the wall, so they demand straight framing and careful setting.
Floor tile for grip
Shower floors need traction. Small mosaics on a sloped center-drain floor add grout joints that improve grip and follow the slopes. With a linear drain, a larger textured or matte tile works. Carry the floor tile from the bathroom into the shower in curbless designs so the floor reads as one surface.
Grout color and long-term upkeep
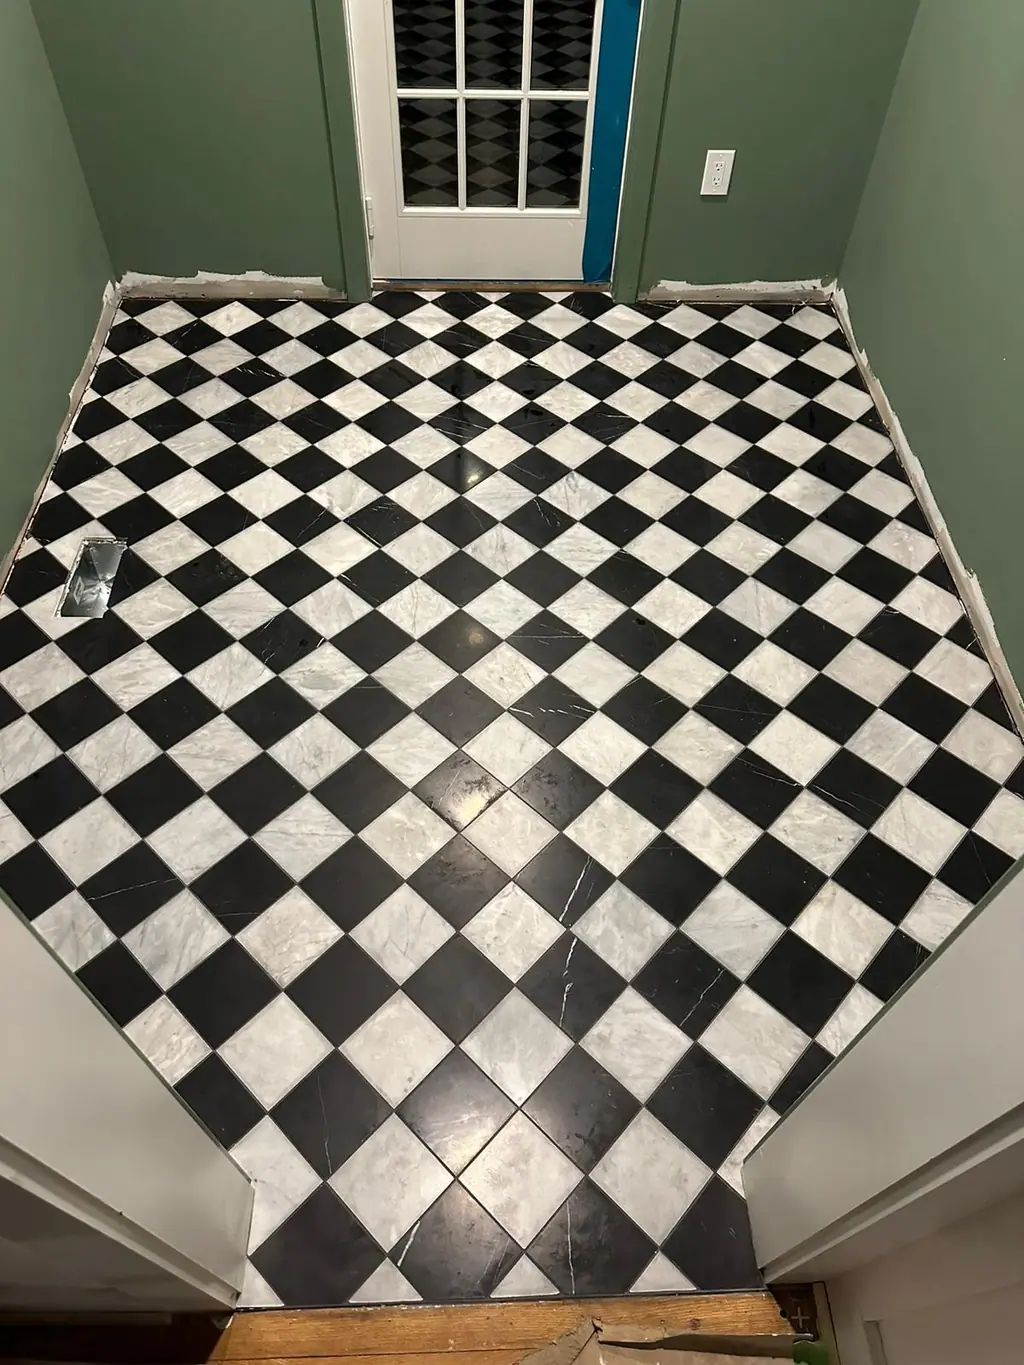
Grout color changes the look of a layout more than people expect. Matching grout makes the tile read as a single surface; contrasting grout highlights the pattern, which suits herringbone and subway but shows every uneven joint. On floors, a mid-tone grout hides wear better than white. High-performance and stain-resistant grouts cost more but hold their color better than traditional cement grout.
If you're planning a shower remodel and want help with niche placement and tile layout, F2 Home Improvement builds tile showers with membrane waterproofing, niches, benches and patterned layouts. See our bathroom remodeling in Newark, DE page, or contact us for a free estimate.
Frequently asked questions
Can a niche be added to an existing tiled shower?
It's possible, but it means cutting into finished tile and the waterproofing behind it, then patching both. Matching old tile is often difficult. It's far easier to add niches during a remodel.
Is a preformed niche better than a framed one?
Preformed foam niches are faster to waterproof and have fewer seams, but they come in fixed sizes. Framed niches can be sized exactly to the tile layout. Either can last if the waterproofing is done correctly.
How many niches should a shower have?
One is enough for most showers. Larger showers, or showers used by two people or with a seat, benefit from a second niche or a long horizontal niche with a shelf.
Does herringbone tile cost more to install?
Yes, generally. Herringbone requires more cuts and careful layout at every edge, which adds labor time and some material waste compared to a straight or offset pattern.
Planning a bathroom remodeling project in Newark?
Get a free in-home estimate from F2.